When talking about homes, no room gets more love and attention than the kitchen. Many people consider it to be the most important area inside the house. It’s where food is prepared so families can share quality time during meals. In light of this, it’s totally understandable if you want to upgrade your kitchen. Whether your aim is healthier meal preparation or clean aesthetics, this post has compiled all the best kitchen renovation tips that’ll take your cooking to the next level. Make sure to read until the end!
Do Your Research
There are thousands, if not millions, of kitchen designs already. Most are built to be energy-efficient, others to be stylish, and some a combination of both. Determining what type of setting you want can be confusing at first. That’s why you’ll have to research and see what the market has in store for you. Doing so gives you a better understanding of what to expect and which price range you should be looking at when shopping around.
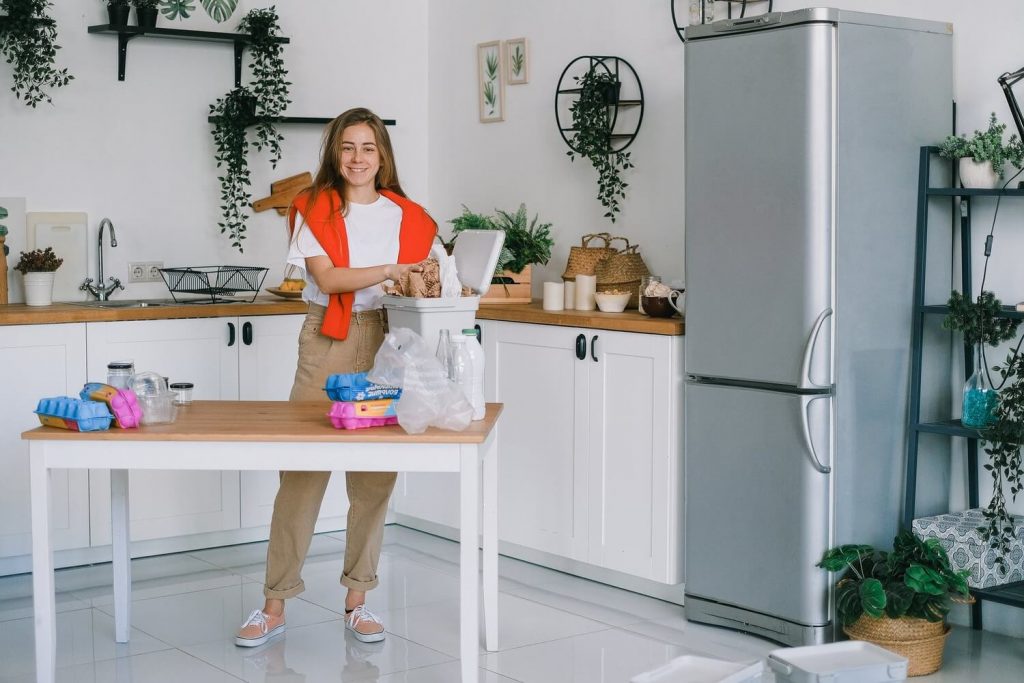
Mind Your Fridge
If you have the money, then skip this one. But if you’re like the majority of the population, downgrading your fridge is almost always worth it. If you have a small fridge, it will be easier to maintain and organize. Plus, you will have less worry about the bills. But if you’re someone who likes to host parties, buying a bigger fridge is probably more practical.
Remember That Less Is More
The kitchen often gets a bad rep for being the messiest section of the house. If you want to improve your cooking skills, you need a place to efficiently do your thing. That’s why experts recommend not to fill your kitchen with clutter. It’ll only make it difficult to get your hands on ingredients or make cleaning take longer. As much as you can, reduce the amount of clutter. For example, take out the bulk food items on the countertops and arrange them in the cabinets.
Consider Adding More Cabinets
Cabinets not only look neat and organized, but they also provide more storage space for your kitchen goodies. In relevance to the tip above, consider adding more to maximize your space and prevent clutter from forming around. Another standard advice would be to replace outdated cabinets. Old cabinets may still hold up, but they might not blend well with the surroundings. On the upside, having more cabinets lets you store more equipment and ingredients.
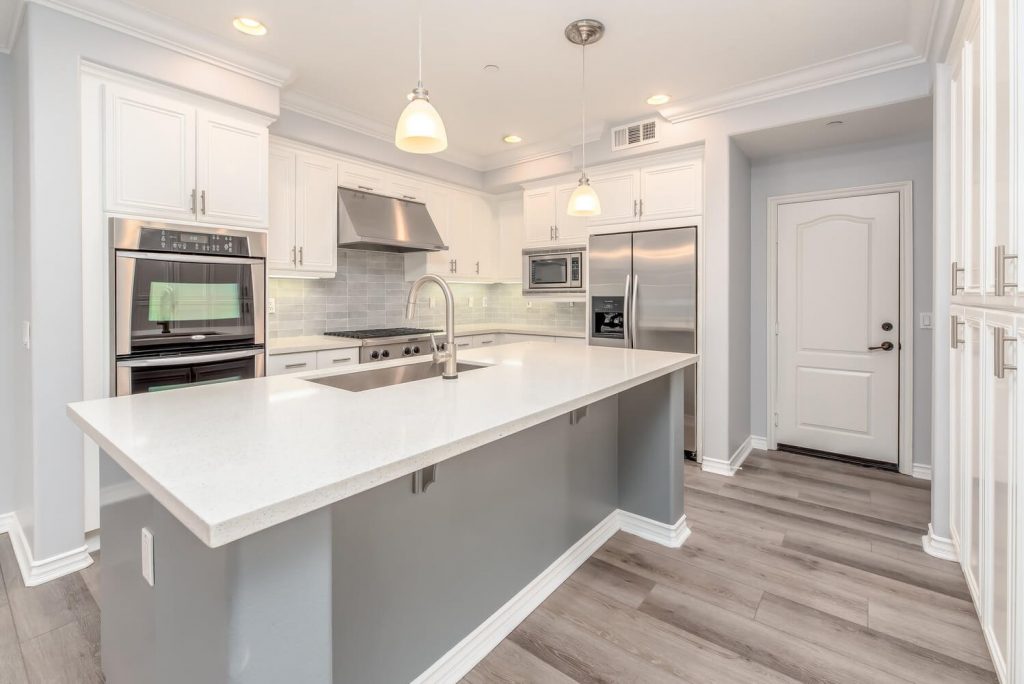
Add-On to Your Kitchen
Does your house have a tiny galley kitchen or an awkward configuration? If you have room on your lot, you may want to consider adding on to your home to create your dream kitchen. Not only will a roomier kitchen add value to your home, but it could greatly improve your cooking experience. Imagine having ample cabinet space, an open flow concept with a large island, beautiful appliances, and a 6-burner gas stove with a hooded vent. You could even have that picture window you’ve always dreamed of.
If you decide to add on, just make sure to get help from a contractor with exterior experience as windows and siding aren’t part of a typical kitchen renovation! Or, you could always reach out to a siding specialist near you to ensure a quality installation.
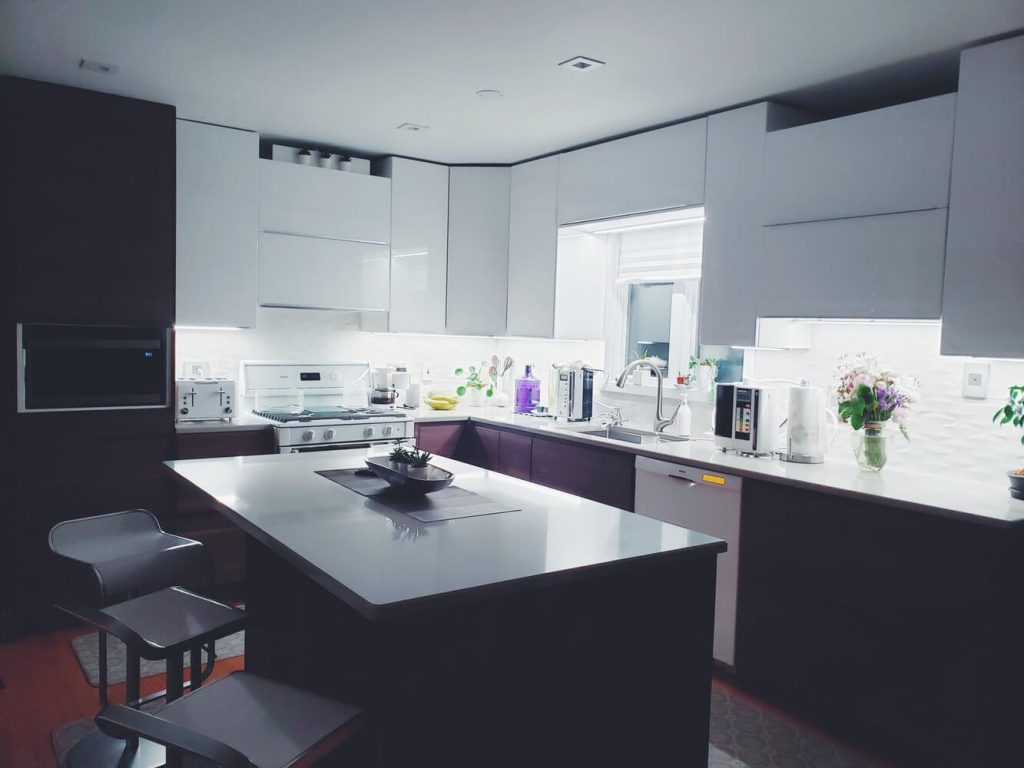
Install Lighting
Nothing adds power and character to a kitchen than properly placed lighting materials. Half a century ago, you would’ve only been limited to bland, dimly lit bulbs. Nowadays, you’ve got various new lighting styles that are affordable and easy to install. You can have soft lights to create a soothing ambiance or bright lights to highlight specific features of your kitchen, such as dark wood cabinets.
Be Creative with Shelves
Shelves should be designed to suit the kitchen’s storage needs. Think of all the mess stuffed in your cupboards and how shelves can help ease the burden. For a stylish effect, you can install shelves directly to the wall, add plants, and include a clean bar to accommodate guests.
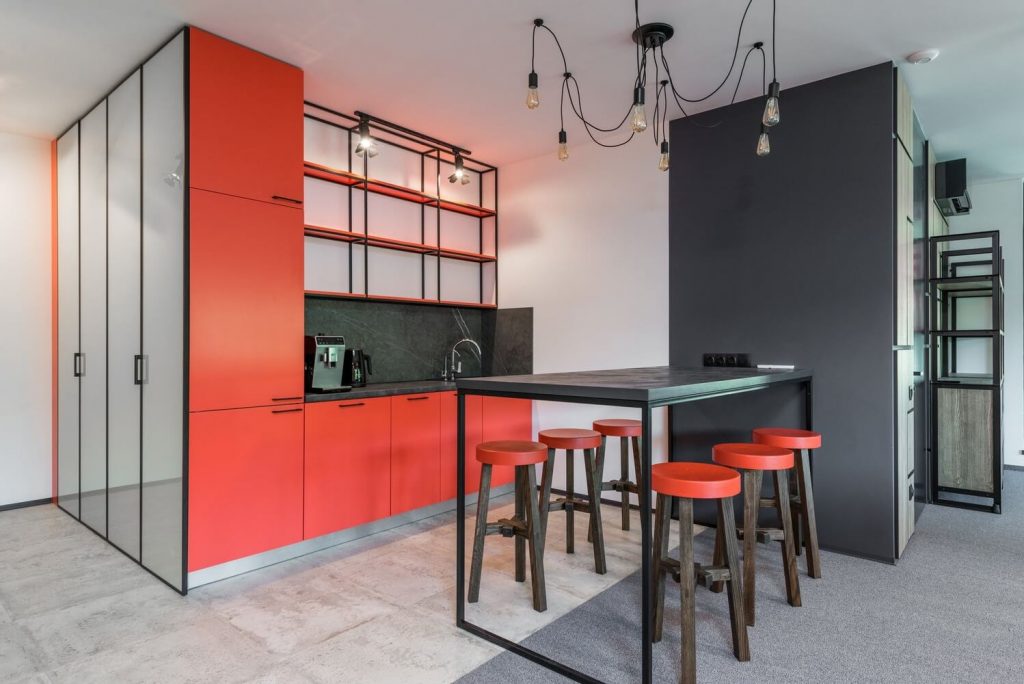
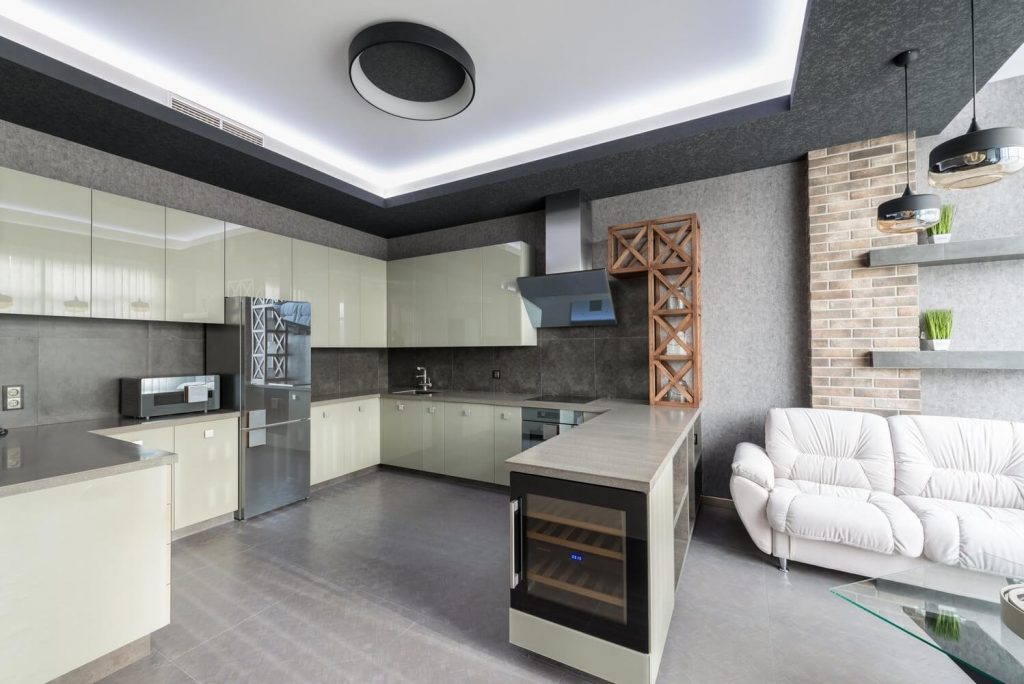
Use Neutral Colors
Neutral colors are the way to go to achieve a modern feel. Neutrality includes shades of ivory, black, white, or beige. That said, it’s a good idea to paint your cabinets with a darker, more solid shade while damping the wall with a lighter hue, then install a marble countertop. The color scheme of your kitchen is crucial to make it look bigger. A white background will help make the area appear more spacious.
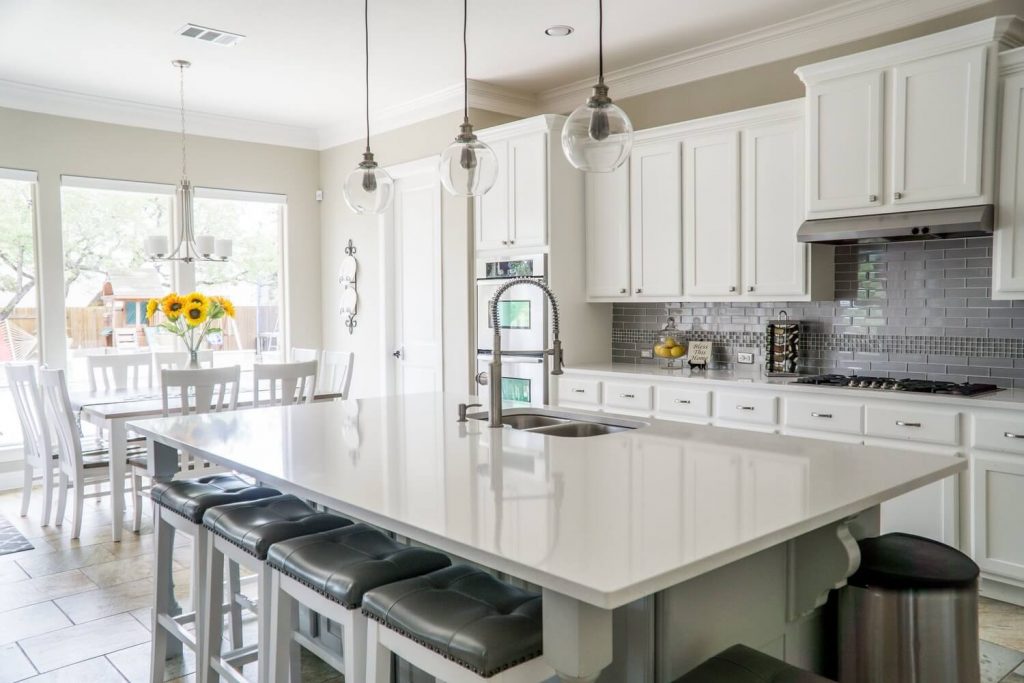
Determine Your Kitchen Island’s Purpose
Are you going to slice and prepare food on the island? Or are you also planning to dine in it? Whatever The case might be, you need to determine its function and purpose. Let’s say if it’s also going to be your pantry for all your dry goods, then it needs proper shelving and storage instead of just a countertop.
The primary reason why most kitchen renovations fail is that homeowners didn’t consider what kind of work they’ll be doing on the island before making their purchase decisions. As such, they end up with appliances that aren’t properly matched to their daily usage. If you’re planning to prepare food on the island every day, then go for full cooktops and ovens.
Wrapping Up
Kitchen renovation is a daunting task, but it doesn’t have to be stressful. Use the tips above to make your kitchen looking fresh and brand new!